well been busy over the past 2 days and managed to finish off my interior, so i thought id take the time and do up a sick DIY yo
prolly a few ways to do this all, but this is how i did it, and it worked for me, so yay me?
just be really careful doing all this, i did this over 2 days
firstly what you will need...
phillips screw driver
flat head screw driver
scissors
scalpel (or really sharp knife)
applicator
fabric of choice (i opted for suiting collection #2 from spot light)
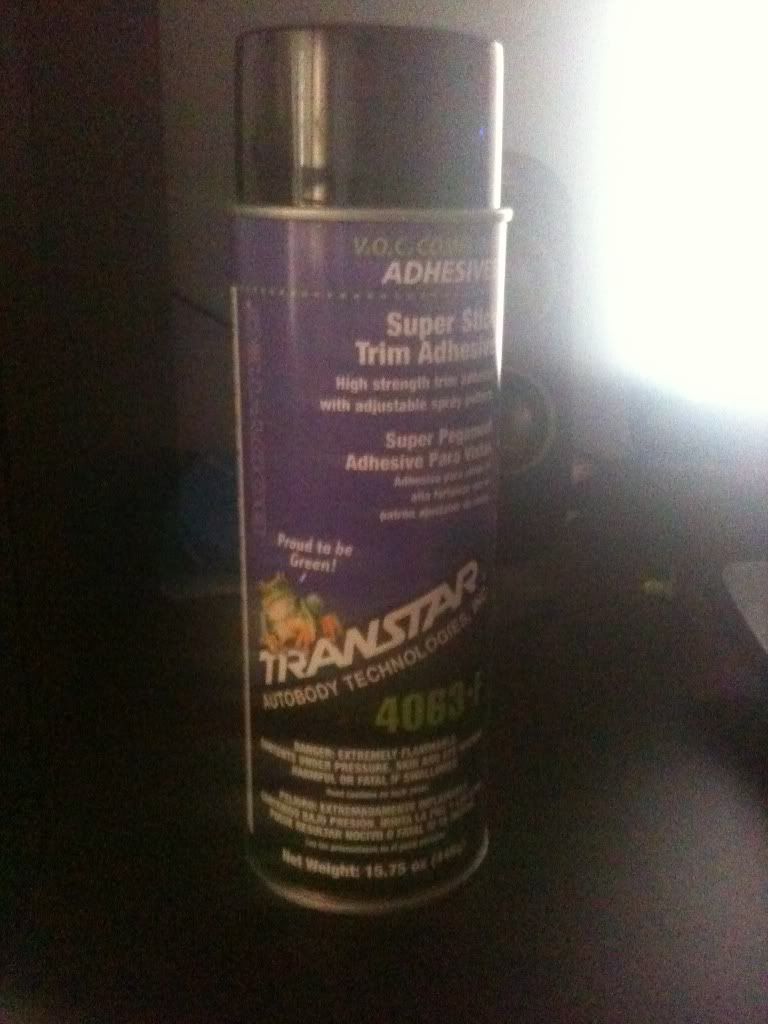
Selleys Kwik Grip
Metho
Preen carpet cleaner (i used preen, but you can use whatever)
blow torch (oh yeh!)
drillbit/screw driver (one you dont like)
hot glue gun sticks
beer of choice (i chose news cause i got a case for freeee)

image details
A. dome light, pop off the cover and remove the 2x screws
B. the hook thing, just remove the rubber cover and unscrew, do same for other side
C. across the back there are 3x plastic screw things, well you just gotta yank them out some how, i broke all 3 so be careful
D. passenger jesus bar, pull down, remove the rubber caps and then unscrew the 2x screws, on drivers side it has 2 plastic grommets just yank them out with care
E. another angle of the dome light from (A.)
F. sunvisor, unscrew 2x screws, simple enough, remove visor
G. unscrew 1x screw simple...
H. same as F.
I. Same as G.


with a bit of huff and puff and a hell of a lot of strugle, get the roof lining out via the passenger door and lay it out

now get the preen carpet clean and give it a good clean, (spray on, let foam, dab off with damp cloth, dab with dry cloth, let dry) now do it in sections so you can clean it easier

now after its all dry cut the material and leave about 30cm each side for move to room and apply glue in a small sections at a time because i did it on a nice warm day and it went tacky quick, so wait till the applied glue goes nice and tacky before applying it so the glue doesnt seep through the material, make sure you apply the glue right to the edge

then put the fabric over the glue and smooth it over (not too firm) with you hand and press out all the creases
then re do previous step until done

now this is a diff method i tried later on, and it worked alot better, instead of doing a square, i did a line across and rolled the fabric over and smoothed it all out with my hands, make sure you do a nice even coat and make sure there are no lump in the glue cause they will press thru onto the fabric and it will look yukk

then just keep goin till its all done

since i started at the back and worked my way to the front (my recommended way of doing it) when you get to the front where most of the indentations are make sure you cover them nice and good and then wait till its tacky and apply fabric and smooth it out with your hands

after its all done, go over it and make sure its all good, press over the whole thing and make sure its all smooth and stuck down good, then this is where i let mine dry over night

next day i started cutting out all the fitting holes, i started with the dome light and got a sharp scalpel


i cut it in an 'X' pattern so i could fold it under neath and glue it down

then stand back make sure its all good and admire your handy work

now here i went and did the holes at the rear (3 off em) and i did them differently. i got my drill bit and heated it up with the blow torch and pressed it through the fabric and it melted a nice hole and seared the ends so they wouldnt fray


now where the sinvisor holes go, i just cut a slit and covered the other side in glue and pressed it through with my fingers till it dried, then did it with all the other holes

now after thats done i went to all the other holes and depending on what type it was, i either cut a hole and pressed and glued the fabric through, or just melted a hole
after all the holes are done ( think there was 17 in total, 2x for jesus bar, 2x for drivers side where jesus bar supposed to go, 4x for sunvisors, 3x rear, 6x for the edges where the pillars fit in)
press the fabric over the lining and glue it from the back, i only glued down about 2cm over lap then trimmed the rest off (forgot to get pics for this stage)
after all the glue is set double check everything, make sure its smooth, all the holes are done and then its ready to go back in the car


now i will get a better pic of the installation 2morro when i break out my SLR, but all and all it wasnt hard, and cheap as chips
fabric was about $8/m
kwik grip, not sure how much the 2L tins go for as i had some in my shed
applicators were about $1
beer was free
so all and all i did my entire car for about $30
oh, forgot to add in, but before you fit the interior trim back in your car, id say give it a good spray with that scotch guard protect stuff, so if someone does stain it, it wont be too hard to get clean again
any questions just ask and i will try and answer
prolly a few ways to do this all, but this is how i did it, and it worked for me, so yay me?
just be really careful doing all this, i did this over 2 days
firstly what you will need...
phillips screw driver
flat head screw driver
scissors
scalpel (or really sharp knife)
applicator
fabric of choice (i opted for suiting collection #2 from spot light)
Selleys Kwik Grip
Metho
Preen carpet cleaner (i used preen, but you can use whatever)
blow torch (oh yeh!)
drillbit/screw driver (one you dont like)
hot glue gun sticks
beer of choice (i chose news cause i got a case for freeee)
image details
A. dome light, pop off the cover and remove the 2x screws
B. the hook thing, just remove the rubber cover and unscrew, do same for other side
C. across the back there are 3x plastic screw things, well you just gotta yank them out some how, i broke all 3 so be careful
D. passenger jesus bar, pull down, remove the rubber caps and then unscrew the 2x screws, on drivers side it has 2 plastic grommets just yank them out with care
E. another angle of the dome light from (A.)
F. sunvisor, unscrew 2x screws, simple enough, remove visor
G. unscrew 1x screw simple...
H. same as F.
I. Same as G.
with a bit of huff and puff and a hell of a lot of strugle, get the roof lining out via the passenger door and lay it out
now get the preen carpet clean and give it a good clean, (spray on, let foam, dab off with damp cloth, dab with dry cloth, let dry) now do it in sections so you can clean it easier
now after its all dry cut the material and leave about 30cm each side for move to room and apply glue in a small sections at a time because i did it on a nice warm day and it went tacky quick, so wait till the applied glue goes nice and tacky before applying it so the glue doesnt seep through the material, make sure you apply the glue right to the edge
then put the fabric over the glue and smooth it over (not too firm) with you hand and press out all the creases
then re do previous step until done
now this is a diff method i tried later on, and it worked alot better, instead of doing a square, i did a line across and rolled the fabric over and smoothed it all out with my hands, make sure you do a nice even coat and make sure there are no lump in the glue cause they will press thru onto the fabric and it will look yukk
then just keep goin till its all done
since i started at the back and worked my way to the front (my recommended way of doing it) when you get to the front where most of the indentations are make sure you cover them nice and good and then wait till its tacky and apply fabric and smooth it out with your hands
after its all done, go over it and make sure its all good, press over the whole thing and make sure its all smooth and stuck down good, then this is where i let mine dry over night
next day i started cutting out all the fitting holes, i started with the dome light and got a sharp scalpel
i cut it in an 'X' pattern so i could fold it under neath and glue it down
then stand back make sure its all good and admire your handy work
now here i went and did the holes at the rear (3 off em) and i did them differently. i got my drill bit and heated it up with the blow torch and pressed it through the fabric and it melted a nice hole and seared the ends so they wouldnt fray
now where the sinvisor holes go, i just cut a slit and covered the other side in glue and pressed it through with my fingers till it dried, then did it with all the other holes
now after thats done i went to all the other holes and depending on what type it was, i either cut a hole and pressed and glued the fabric through, or just melted a hole
after all the holes are done ( think there was 17 in total, 2x for jesus bar, 2x for drivers side where jesus bar supposed to go, 4x for sunvisors, 3x rear, 6x for the edges where the pillars fit in)
press the fabric over the lining and glue it from the back, i only glued down about 2cm over lap then trimmed the rest off (forgot to get pics for this stage)
after all the glue is set double check everything, make sure its smooth, all the holes are done and then its ready to go back in the car
now i will get a better pic of the installation 2morro when i break out my SLR, but all and all it wasnt hard, and cheap as chips
fabric was about $8/m
kwik grip, not sure how much the 2L tins go for as i had some in my shed
applicators were about $1
beer was free
so all and all i did my entire car for about $30
oh, forgot to add in, but before you fit the interior trim back in your car, id say give it a good spray with that scotch guard protect stuff, so if someone does stain it, it wont be too hard to get clean again
any questions just ask and i will try and answer