Mods - If you could sticky this, that'd be great. No more basic painting threads.
How to Paint 101
This is a semi-detailed guide on how to get very good results from your own DIY painting skills. A few things before we get started.
What type of paint should you use?
This is the easiest part. You just need a paint to suit your application.
Vinyl Paint - If you intend to paint plastic or vinyl parts (such as interior pieces) you will want vinyl paint. If they do not have vinyl paint in the colour you want, you can also use acrylic paint (check that the brand you choose is suitable for the surface you intend to paint).
Acrylic Paint - This paint is suitable for most applications and surfaces. In its basic form, it is a liquid plastic that will harden after a short drying period. As such, it is prone to cracking or flaking and can be quite brittle. You will need to clear coat things that you use acrylic paint on (more on this later).
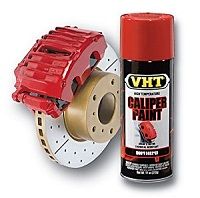
Caliper Paint - Obviously for use on calipers or other surfaces where the surface itself is prone to being heated and having the heat dissipated in quick succession. You can use caliper paint on many surfaces, again check the can for which surfaces it will and won't adhere to.
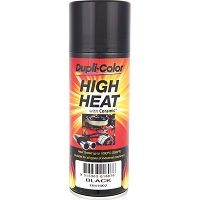
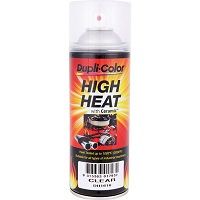
Heatproof Paint - Used for areas that reach very high temperatures such as rocker covers, extractors/headers and most other exhaust components.
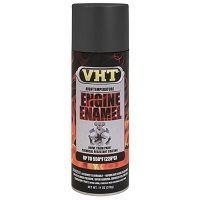
Enamel Paint - This is paint that is suited to applications that endure hard wear and dries to a very hard and durable finish/ It is usually glossy as well without the need to clear coat.
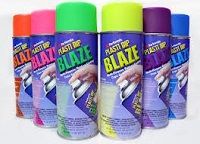
PlastiDip - PlastiDip is basically liquid rubber in a can, and will dry as such. You painting technique will not change with this product. The results are a durable finish that can easily be peeled off later on if you grow out of the colour, etc. The more coats you apply, the easier it will be to peel off later on. You can also get PlastiDip in a clear coat.
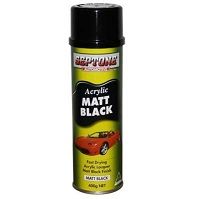
Matte Paints - These are paints that dry just like any other (matte black acrylic will dry like acrylic paints, matte black enamel will dry like enamel paints). The only difference is that these matte paints have little to no shine to them. They are a flat colour, with little gloss or shine.
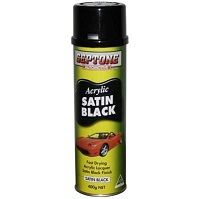
Satin Paints - These paints are the middle ground between matte and gloss. They will dry depending on what type of paint it is and leave a medium level of shine. Great for applications such as door frames and windscreen wipers. Also plastic inserts in bumpers and interior pieces.
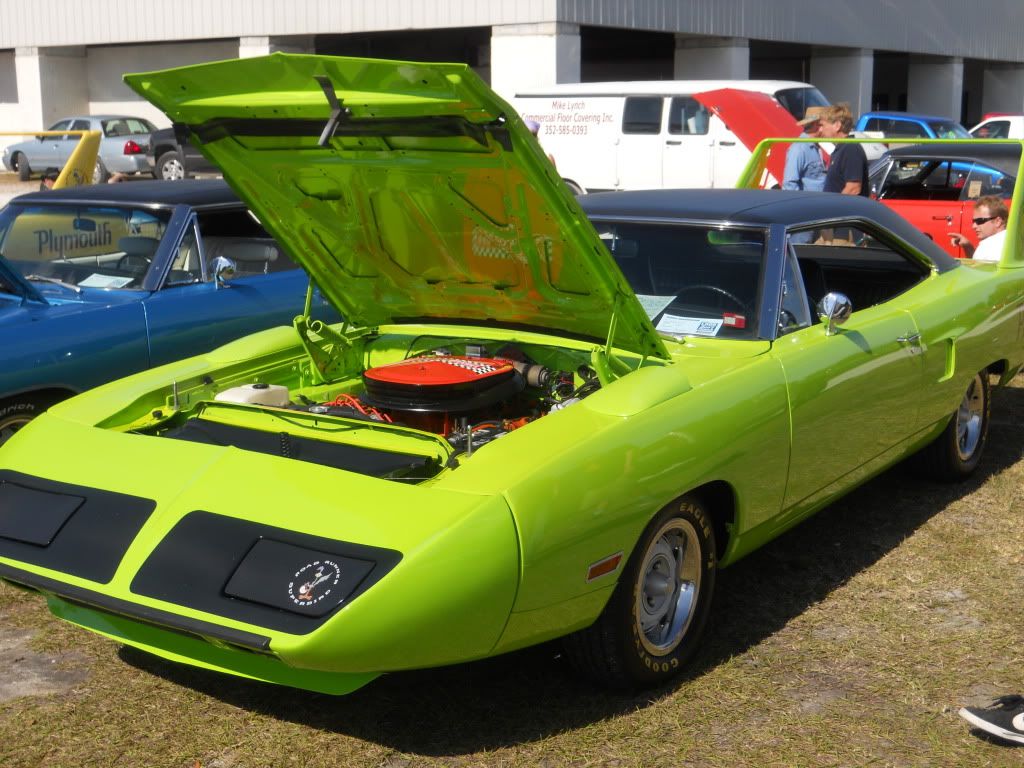
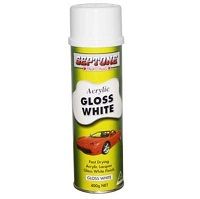
Gloss Paints - These paints achieve the maximum level of gloss and shine when dry. The surface will look like it has already been covered in clear coat.
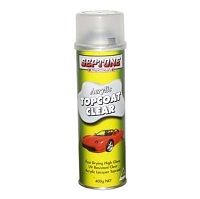
Clear Coat - Clear coating is the cornerstone of any good paint job. It protects your painted surface and allows you to safely polish and care for your painted surfaces without fear of messing up your paintwork. You will need to clear coat any paintwork you do, unless you feel like repainting that part consistently.
Heatproof Clear Coat - Basically the same as regular clear coat, but is different in how it dries. These paints need a very light and even spread on application. If you apply too many coats, the clear coat will start to feel soft and will absorb dirt much more easily due to the soft nature of the paint.
Protip: If you want to paint a heated surface a particular colour but can't find it in a heatproof can, you can use regular acrylic or other paints, covered in a heatproof clear coat. The heatproof coat will seal in the colour and protect it from the heat fairly well.
How do I prepare the surface before starting to paint?
PREP WORK IS 75% OF YOUR END RESULT!! <- can't stress that enough.
Prep work is the cornerstone of your results. The better you prep, the better your end result.
Sandpaper - Sandpaper comes in 'grits'. The lower the grit, the more rough/porous the surface of the sand paper. The rougher the sandpaper, the faster it will strip paint and other things from your surface. 50-grit sandpaper will be extremely rough. 2000-grit sandpaper will be extremely smooth. For stripping paint and preparing a rough surface, 400-grit paper will work well. As your surface becomes smoother, you will want to use a finer sandpaper. Swap to 800-grit after major blemishes are gone, then finish off the surface to a baby-butt smooth with some 1500-grit sandpaper. You want your surface as smooth as possible.
Protip: You want to try and sand in small, circular motions. This will make sure your finish is smoother and that you don't wear away the surface and make it uneven or dip in any areas.
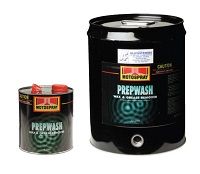
Wax & Grease Remover - As the name states, this product removes wax and grease from your surface. Paint will not adhere to a waxy or greasy surface. Grab a clean cloth or rip up an old cotton shirt, splash some Wax & Grease remover on it, and rub your surface down. You want to rid it of any contaminants such as fine dust from sanding, or hairs, dirt etc.
Protip: Do not touch the surface of the paint you want to paint with your skin before you go to paint it. Your skin contaminates the surface and will ruin your paint job. Wipe down any areas you touch with more Wax & Grease Remover. It is safe to wipe down painted surfaces with this product, so you can safely wipe down mid-paint, as long as the surface is already dry.
Protip 2: Substitutes for Wax & Grease Remover are dishwashing liquid, mineral turps and methylated spirits. You can also use degreaser, I don't recommend this as it can eat away at adhesives and rubber and leave discoloured splotches when dry.
Filler/Putty - This little baby is what you use to fill large dents or gaps in your surface. Add the putty as necessary, then compress and smooth it out with a piece of cardboard or similar (as if you were laying a slab of concrete). Allow it to dry, then sand it back to match the surface of the panel for a smooth result.
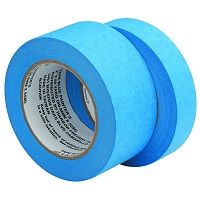
Painter's Tape - This is your best friend if you need to mark off certain areas where you don't want paint to go, or to hold newspaper onto the surface of your panel. Painters tape is not an aggressive adhesive tape, it is very friendly to painted surfaces.
Protip: You COULD use masking tape but it has a very high chance of peeling off your clear coat if you leave it on for too long. Painter's tape will never do this.
What's the difference between a spray can and a paint gun?
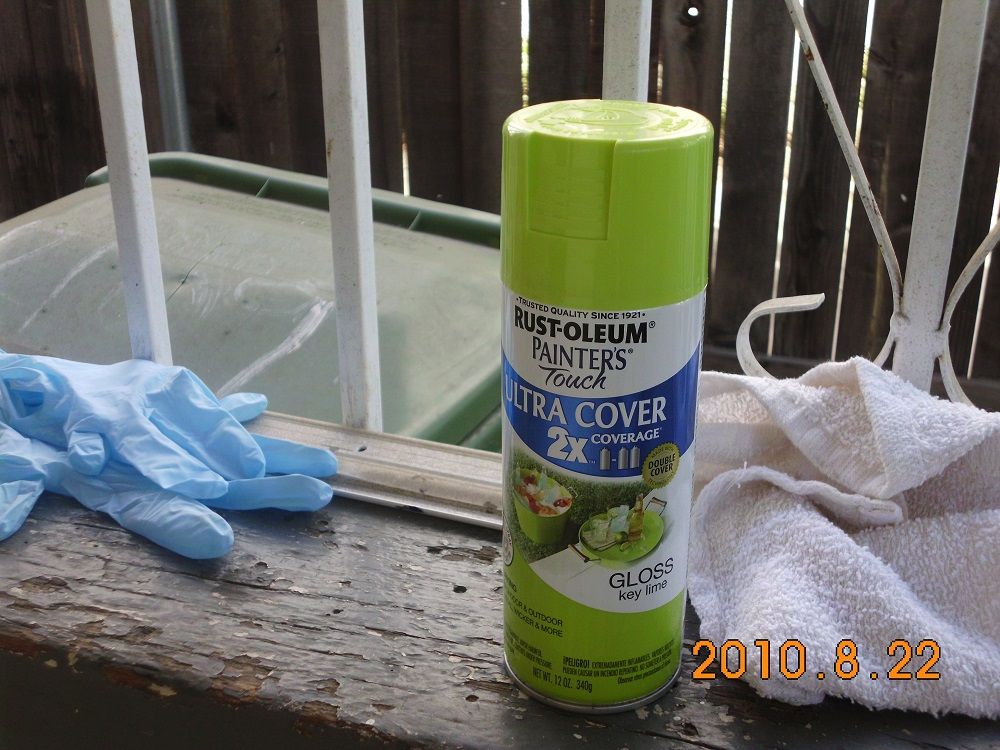
Spray Cans - Easy to use, accessible, and easy to manipulate. You can paint almost anything using cans. You can get most a lot of different kinds of paint in a lot of different colours. You can even get your cars colour mixed for you into a spray can. As the directions state, shake those bad boys up for at least 1 minute prior to use. This is to make sure that the paint is malleable and mixed. Spray cans already have colour and thinner mixed in them, therefore you need to shake it up to mix them into each other so you aren't spraying all colour and no thinner, or all thinner and no colour. Shake shake shake. They are also easy to use because you can get into small nooks and areas which you may not be able to reach with a gun.
Protip: When you've finished using a can, turn it upside and spray it for a few seconds until only gas starts coming out. This will ensure no paint dries in the nozzle, so next time you go to use it, the nozzle isn't full of dried paint and works as intended. They can also be thrown straight into the garbage bin when empty, not recycle bins.
Paint Guns - These are better let for applications that require larger volumes of paint, or a larger painting surface. You will also get superior results from using a paint gun over spray cans as they spread the paint better, but this can be expensive. You will need to have your paint mixed up, and then mix it with thinners yourself. The correct ratio for this is 50:50 paint:thinner. Spray guns also require an air compressor of at least 2-4 horsepower for decent pressure. They also come in different levels of pressure and volume. Pressure refers to how much force you want the paint to flow at, and volume refers to the amount of paint that will flow while painting. For car related paint jobs, low pressure and low volume (LPVL/LVLP) guns are the go. You can also get paint guns in two varieties, top or bottom mounted.
Top mounted has the paint sitting on top of the gun, bottom mount has it sitting below the gun. Both have advantages and disadvantages. Top mount lets you keep a steady watch on how much paint is left in the gun. They are also gravity fed, which means you will get a constant and steady flow of paint. On the down side, as the level of paint decreases, the more you tilt or move the gun may affect the flow of the paint. They are also top heavy which can be difficult to manipulate and make your hands tired from trying to balance the paint on top.
Bottom mount guns are suction fed. This means that the paint is sucked up from the bottom of the canister and fed up into the gun. Advantages are that they are easier to use as the weight is at the bottom. Disadvantages are that suction fed is inferior to gravity fed guns, the flow of paint will not be as constant when the level is paint runs lower.
Spraying Technique - How do I actually paint things?
You want to stay roughly 20-25cm from the surface you are painting, this will ensure evenly spread coats. You also have a choice of two different motions in which to paint.
Left-to-Right - This requires you to do small bursts of spraying (roughly 1sec long) back and forwards along your surface, kind of like a pendulum motion. You also want to start and finish by spraying paint into the air, not directly on the surface you are painting. This makes sure you don't get blotches or splatters of paint where you start and finish each motion of spray (reduces overlapping in areas).
Hickory Switch - This requires you to do small bursts of spraying (approx 1sec long) in the one direction one after the other. As with the left-to-right technique, you want to finish each burst with your can in the air to lessen the chances of overlapping paint. To try and put it into words, it's as if you were laying down sections of train tracks one after the other.
Protip: Do whichever motion you feel more comfortable with, you will get roughly the same results either way.
Waiting Between Coats/Drying Time - You will want to wait approx. 5-10mins between coats. Of course it's to let the paint dry, but do you actually know the consequences of not letting it dry? If you apply too much paint at once, it will becomes blotchy and run and will not spread evenly on the surface. If you apply coats too quickly, the paint will slowly build up into one large coat of sloppy un-dried paint, kinda like playdough. If you touch the surface with your skin, the paint won't adhere and will peel off since it couldn't stick to the surface properly.
What are 'Coats' and how many do I need?
Coats refer to the number of layers of a particular paint on your surface. They come in three varieties:
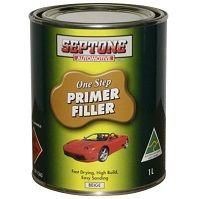
Primer - This is your first type of coat. You want its colour to be light and easy to cover up. The primer provides you with a nice surface for your base coats and clear coats to adhere to. If you skip your primer coat on a panel, you're gonna have a bad time. The best colour to use as a primer is light grey or light yellow (DO NOT USE WHITE OR BLACK). You want to have 3-5 light coats of primer on your surface.
Base Colour - This is the colour you want your surface to be. If you wanted to paint something red, this is the stage where you whip out your red paint and go nuts, etc. You want to slap on between 5-7 coats of your base colour.
Clear Coat - The final step of your paints. This coat seals in the colour of the base coat and helps to protect it from scratches, flaking, weather. etc. The clear coat is also the part that gets buffed/polished, therefore the more coats you do, the more you can buff and polish your surface. You shouldn't polish or buff and surface that doesn't have a clear coat. You'll want to do 5-7 coats of clear.
What are the best conditions to paint in?
In short, you want to be painting in a well ventilated area that has little to no variance in weather conditions such as wind or rain. Any temperature between 20-30 degrees would be optimal.
If it is hotter than 35, you will need to take steps in order to keep the paint from running or not drying properly, as obviously the humidity of your workspace will be quite high. Grab a fan and place it behind your work space so that it is blowing behind your line of spray and not affecting the direction of your paint. The coats will take longer to dry in between each, use that fan to gently blow onto your surface to help the paint dry between coats.
If it is colder than 20 degrees, you will find that your paint is also not drying properly and may become blotchy because there is not enough humidity for your paint to oxidise (water evaporation from the paint causes it to dry; no evaporation, no drying). Grab yourself a hairdryer, pop it on the lowest setting, and gently heat up your surface until it becomes warm to the touch. Too warm and the paint will not bond well and flake off. You can also use the hairdryer to help keep your surface warm between coats, give it a quick blast just to keep things going.
If you are painting a whole car or something else large, you will want a garage with at least 2 small fans pushing air outside for you, as ventilation is very important for both your health and your paintwork. You are also going to want to drape large plastic/sheets around the walls of your workspace and if possible, have something sucking air up through the roof of your workspace.
Post-Painting Care - What is buffing?
Buffing - Refers to a rubbing motion on any surface in order to bring a shine to it.
Polishing - Polishing a surface is a great way to protect it from the elements and give your surface extra smoothness and shine. It will bring a sine to the surface, water will fall off easier and it will be harder for dirt to get stuck to it. To properly polish something requires 2 rags and a micro fiber cloth. Apply the polish (approx 20c piece) to the first rag, and gently wipe the polish all over the surface (maximum area I would do at once is 50x50cm). Once the area is covered in polish, use your second rag to buff the polish into the paintwork. Use a circular motion to get the best results, and put your elbow into it; polishing takes some muscle. Once all of the polish has been rubbed in, use your micro fiber cloth to quickly buff the surface and bring up a nice shine.
Protip: Never polish in the sun, always be in the shade. The sun will dry the polish too quickly and it will not rub into the car. You will be left with a rough surface and dried polish everywhere.
Protip 2: If the above happens, move your car into the shade, apply more polish and buff the hell out of it. Will come up as intended.
Stairway to Heaven - Let's Start Painting!
Step 1: Prep your surface for painting. Use the above techniques to get your surface smooth and even.
Step 2: Wipe down your surface with wax and grease remover
Step 3: Apply your primer coat
Step 4: Lightly sand back your surface til smooth (using 1500 or higher grit sandpaper).
Step 5: Wipe it down again
Step 6: Apply your base colour
Step 7: Sand til smooth and wipe it down again
Step 8: Apply your clear coats
Step 9: Allow the paint to settle for 2 days before attempting any sort of polishing or buffing.
How to Paint 101
This is a semi-detailed guide on how to get very good results from your own DIY painting skills. A few things before we get started.
What type of paint should you use?
This is the easiest part. You just need a paint to suit your application.
Vinyl Paint - If you intend to paint plastic or vinyl parts (such as interior pieces) you will want vinyl paint. If they do not have vinyl paint in the colour you want, you can also use acrylic paint (check that the brand you choose is suitable for the surface you intend to paint).
Acrylic Paint - This paint is suitable for most applications and surfaces. In its basic form, it is a liquid plastic that will harden after a short drying period. As such, it is prone to cracking or flaking and can be quite brittle. You will need to clear coat things that you use acrylic paint on (more on this later).
Caliper Paint - Obviously for use on calipers or other surfaces where the surface itself is prone to being heated and having the heat dissipated in quick succession. You can use caliper paint on many surfaces, again check the can for which surfaces it will and won't adhere to.
Heatproof Paint - Used for areas that reach very high temperatures such as rocker covers, extractors/headers and most other exhaust components.
Enamel Paint - This is paint that is suited to applications that endure hard wear and dries to a very hard and durable finish/ It is usually glossy as well without the need to clear coat.
PlastiDip - PlastiDip is basically liquid rubber in a can, and will dry as such. You painting technique will not change with this product. The results are a durable finish that can easily be peeled off later on if you grow out of the colour, etc. The more coats you apply, the easier it will be to peel off later on. You can also get PlastiDip in a clear coat.
Matte Paints - These are paints that dry just like any other (matte black acrylic will dry like acrylic paints, matte black enamel will dry like enamel paints). The only difference is that these matte paints have little to no shine to them. They are a flat colour, with little gloss or shine.
Satin Paints - These paints are the middle ground between matte and gloss. They will dry depending on what type of paint it is and leave a medium level of shine. Great for applications such as door frames and windscreen wipers. Also plastic inserts in bumpers and interior pieces.
Gloss Paints - These paints achieve the maximum level of gloss and shine when dry. The surface will look like it has already been covered in clear coat.
Clear Coat - Clear coating is the cornerstone of any good paint job. It protects your painted surface and allows you to safely polish and care for your painted surfaces without fear of messing up your paintwork. You will need to clear coat any paintwork you do, unless you feel like repainting that part consistently.
Heatproof Clear Coat - Basically the same as regular clear coat, but is different in how it dries. These paints need a very light and even spread on application. If you apply too many coats, the clear coat will start to feel soft and will absorb dirt much more easily due to the soft nature of the paint.
Protip: If you want to paint a heated surface a particular colour but can't find it in a heatproof can, you can use regular acrylic or other paints, covered in a heatproof clear coat. The heatproof coat will seal in the colour and protect it from the heat fairly well.
How do I prepare the surface before starting to paint?
PREP WORK IS 75% OF YOUR END RESULT!! <- can't stress that enough.
Prep work is the cornerstone of your results. The better you prep, the better your end result.
Sandpaper - Sandpaper comes in 'grits'. The lower the grit, the more rough/porous the surface of the sand paper. The rougher the sandpaper, the faster it will strip paint and other things from your surface. 50-grit sandpaper will be extremely rough. 2000-grit sandpaper will be extremely smooth. For stripping paint and preparing a rough surface, 400-grit paper will work well. As your surface becomes smoother, you will want to use a finer sandpaper. Swap to 800-grit after major blemishes are gone, then finish off the surface to a baby-butt smooth with some 1500-grit sandpaper. You want your surface as smooth as possible.
Protip: You want to try and sand in small, circular motions. This will make sure your finish is smoother and that you don't wear away the surface and make it uneven or dip in any areas.
Wax & Grease Remover - As the name states, this product removes wax and grease from your surface. Paint will not adhere to a waxy or greasy surface. Grab a clean cloth or rip up an old cotton shirt, splash some Wax & Grease remover on it, and rub your surface down. You want to rid it of any contaminants such as fine dust from sanding, or hairs, dirt etc.
Protip: Do not touch the surface of the paint you want to paint with your skin before you go to paint it. Your skin contaminates the surface and will ruin your paint job. Wipe down any areas you touch with more Wax & Grease Remover. It is safe to wipe down painted surfaces with this product, so you can safely wipe down mid-paint, as long as the surface is already dry.
Protip 2: Substitutes for Wax & Grease Remover are dishwashing liquid, mineral turps and methylated spirits. You can also use degreaser, I don't recommend this as it can eat away at adhesives and rubber and leave discoloured splotches when dry.
Filler/Putty - This little baby is what you use to fill large dents or gaps in your surface. Add the putty as necessary, then compress and smooth it out with a piece of cardboard or similar (as if you were laying a slab of concrete). Allow it to dry, then sand it back to match the surface of the panel for a smooth result.
Painter's Tape - This is your best friend if you need to mark off certain areas where you don't want paint to go, or to hold newspaper onto the surface of your panel. Painters tape is not an aggressive adhesive tape, it is very friendly to painted surfaces.
Protip: You COULD use masking tape but it has a very high chance of peeling off your clear coat if you leave it on for too long. Painter's tape will never do this.
What's the difference between a spray can and a paint gun?
Spray Cans - Easy to use, accessible, and easy to manipulate. You can paint almost anything using cans. You can get most a lot of different kinds of paint in a lot of different colours. You can even get your cars colour mixed for you into a spray can. As the directions state, shake those bad boys up for at least 1 minute prior to use. This is to make sure that the paint is malleable and mixed. Spray cans already have colour and thinner mixed in them, therefore you need to shake it up to mix them into each other so you aren't spraying all colour and no thinner, or all thinner and no colour. Shake shake shake. They are also easy to use because you can get into small nooks and areas which you may not be able to reach with a gun.
Protip: When you've finished using a can, turn it upside and spray it for a few seconds until only gas starts coming out. This will ensure no paint dries in the nozzle, so next time you go to use it, the nozzle isn't full of dried paint and works as intended. They can also be thrown straight into the garbage bin when empty, not recycle bins.
Paint Guns - These are better let for applications that require larger volumes of paint, or a larger painting surface. You will also get superior results from using a paint gun over spray cans as they spread the paint better, but this can be expensive. You will need to have your paint mixed up, and then mix it with thinners yourself. The correct ratio for this is 50:50 paint:thinner. Spray guns also require an air compressor of at least 2-4 horsepower for decent pressure. They also come in different levels of pressure and volume. Pressure refers to how much force you want the paint to flow at, and volume refers to the amount of paint that will flow while painting. For car related paint jobs, low pressure and low volume (LPVL/LVLP) guns are the go. You can also get paint guns in two varieties, top or bottom mounted.
Top mounted has the paint sitting on top of the gun, bottom mount has it sitting below the gun. Both have advantages and disadvantages. Top mount lets you keep a steady watch on how much paint is left in the gun. They are also gravity fed, which means you will get a constant and steady flow of paint. On the down side, as the level of paint decreases, the more you tilt or move the gun may affect the flow of the paint. They are also top heavy which can be difficult to manipulate and make your hands tired from trying to balance the paint on top.
Bottom mount guns are suction fed. This means that the paint is sucked up from the bottom of the canister and fed up into the gun. Advantages are that they are easier to use as the weight is at the bottom. Disadvantages are that suction fed is inferior to gravity fed guns, the flow of paint will not be as constant when the level is paint runs lower.
Spraying Technique - How do I actually paint things?
You want to stay roughly 20-25cm from the surface you are painting, this will ensure evenly spread coats. You also have a choice of two different motions in which to paint.
Left-to-Right - This requires you to do small bursts of spraying (roughly 1sec long) back and forwards along your surface, kind of like a pendulum motion. You also want to start and finish by spraying paint into the air, not directly on the surface you are painting. This makes sure you don't get blotches or splatters of paint where you start and finish each motion of spray (reduces overlapping in areas).
Hickory Switch - This requires you to do small bursts of spraying (approx 1sec long) in the one direction one after the other. As with the left-to-right technique, you want to finish each burst with your can in the air to lessen the chances of overlapping paint. To try and put it into words, it's as if you were laying down sections of train tracks one after the other.
Protip: Do whichever motion you feel more comfortable with, you will get roughly the same results either way.
Waiting Between Coats/Drying Time - You will want to wait approx. 5-10mins between coats. Of course it's to let the paint dry, but do you actually know the consequences of not letting it dry? If you apply too much paint at once, it will becomes blotchy and run and will not spread evenly on the surface. If you apply coats too quickly, the paint will slowly build up into one large coat of sloppy un-dried paint, kinda like playdough. If you touch the surface with your skin, the paint won't adhere and will peel off since it couldn't stick to the surface properly.
What are 'Coats' and how many do I need?
Coats refer to the number of layers of a particular paint on your surface. They come in three varieties:
Primer - This is your first type of coat. You want its colour to be light and easy to cover up. The primer provides you with a nice surface for your base coats and clear coats to adhere to. If you skip your primer coat on a panel, you're gonna have a bad time. The best colour to use as a primer is light grey or light yellow (DO NOT USE WHITE OR BLACK). You want to have 3-5 light coats of primer on your surface.
Base Colour - This is the colour you want your surface to be. If you wanted to paint something red, this is the stage where you whip out your red paint and go nuts, etc. You want to slap on between 5-7 coats of your base colour.
Clear Coat - The final step of your paints. This coat seals in the colour of the base coat and helps to protect it from scratches, flaking, weather. etc. The clear coat is also the part that gets buffed/polished, therefore the more coats you do, the more you can buff and polish your surface. You shouldn't polish or buff and surface that doesn't have a clear coat. You'll want to do 5-7 coats of clear.
What are the best conditions to paint in?
In short, you want to be painting in a well ventilated area that has little to no variance in weather conditions such as wind or rain. Any temperature between 20-30 degrees would be optimal.
If it is hotter than 35, you will need to take steps in order to keep the paint from running or not drying properly, as obviously the humidity of your workspace will be quite high. Grab a fan and place it behind your work space so that it is blowing behind your line of spray and not affecting the direction of your paint. The coats will take longer to dry in between each, use that fan to gently blow onto your surface to help the paint dry between coats.
If it is colder than 20 degrees, you will find that your paint is also not drying properly and may become blotchy because there is not enough humidity for your paint to oxidise (water evaporation from the paint causes it to dry; no evaporation, no drying). Grab yourself a hairdryer, pop it on the lowest setting, and gently heat up your surface until it becomes warm to the touch. Too warm and the paint will not bond well and flake off. You can also use the hairdryer to help keep your surface warm between coats, give it a quick blast just to keep things going.
If you are painting a whole car or something else large, you will want a garage with at least 2 small fans pushing air outside for you, as ventilation is very important for both your health and your paintwork. You are also going to want to drape large plastic/sheets around the walls of your workspace and if possible, have something sucking air up through the roof of your workspace.
Post-Painting Care - What is buffing?
Buffing - Refers to a rubbing motion on any surface in order to bring a shine to it.
Polishing - Polishing a surface is a great way to protect it from the elements and give your surface extra smoothness and shine. It will bring a sine to the surface, water will fall off easier and it will be harder for dirt to get stuck to it. To properly polish something requires 2 rags and a micro fiber cloth. Apply the polish (approx 20c piece) to the first rag, and gently wipe the polish all over the surface (maximum area I would do at once is 50x50cm). Once the area is covered in polish, use your second rag to buff the polish into the paintwork. Use a circular motion to get the best results, and put your elbow into it; polishing takes some muscle. Once all of the polish has been rubbed in, use your micro fiber cloth to quickly buff the surface and bring up a nice shine.
Protip: Never polish in the sun, always be in the shade. The sun will dry the polish too quickly and it will not rub into the car. You will be left with a rough surface and dried polish everywhere.
Protip 2: If the above happens, move your car into the shade, apply more polish and buff the hell out of it. Will come up as intended.
Stairway to Heaven - Let's Start Painting!
Step 1: Prep your surface for painting. Use the above techniques to get your surface smooth and even.
Step 2: Wipe down your surface with wax and grease remover
Step 3: Apply your primer coat
Step 4: Lightly sand back your surface til smooth (using 1500 or higher grit sandpaper).
Step 5: Wipe it down again
Step 6: Apply your base colour
Step 7: Sand til smooth and wipe it down again
Step 8: Apply your clear coats
Step 9: Allow the paint to settle for 2 days before attempting any sort of polishing or buffing.